Now we have two garden carts, all freshly coated with the Linseed oil/beeswaz mixture. The one in the background has just been completely rebuilt.
Photo Gallery
Folks!
We've been incredibly busy here at the BZ farm, naturally, but we have some pictures to share.
We want you to be able to get a sense of what's going on here.
Remember, you are always welcome to arrange a visit and we are looking for folks to move to the farm, join the collective and share in the beauty and bounty this land offers.
Chrys
(I'm the one who's always hidden behind the camera)
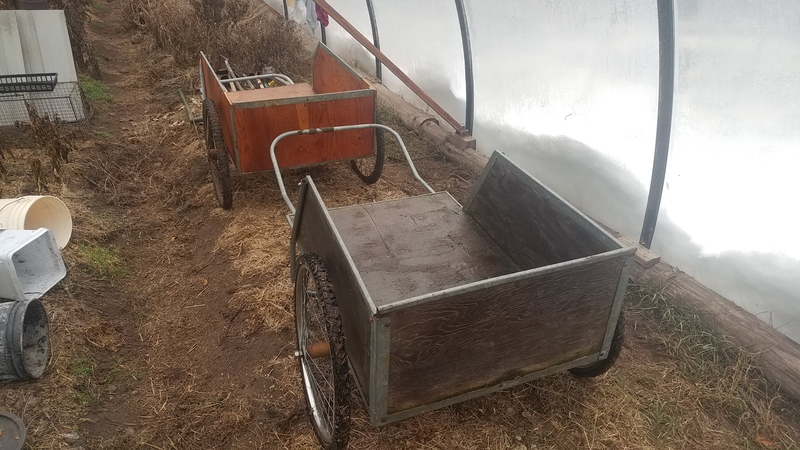
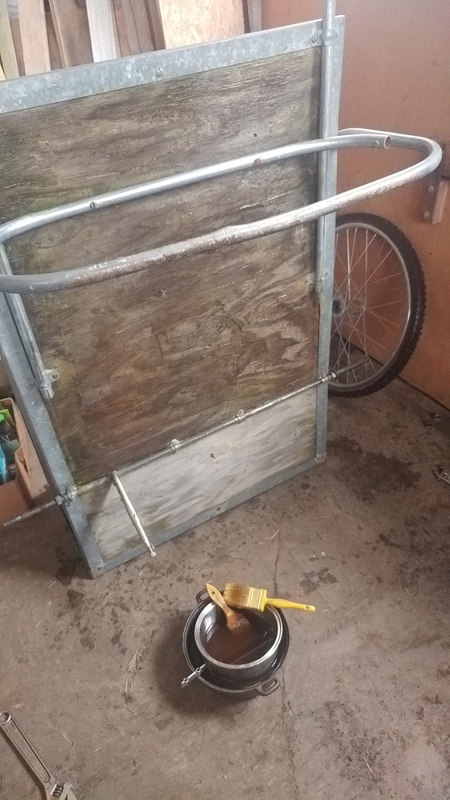
Treating the old wood of the older garden cart with Linseed oil/beeswax coating. The linseed oil hardens slowly encapulating the wax for a durable waterproof finish that will preserve the wood. Start with 8 oz. of raw linseed oil in a measuring cup (the "boiled" kind has nasty petroleum solvents in it-- boiled will dry faster, but raw will dry eventually, like in a week or so if kept in a dry area, out of the sun). Add enough grated or chopped beeswax to bring the level of the oil up to 9 oz.. Now slowly heat the mixture in a double boiler, stirring constantly (so you won't wander away and leave it unattended), until the beeswax melts and it becomes a thin liquid. DO NOT OVERHEAT or it will EXPLODE. Use it while it's still warm. Use a paint brush. Oh, Chrys added a walnut-sized chunk of pine pitch which took a little longer to melt but eventually blended right in. If you want to do two coats, wait a few days before putting on the 2nd coat. In a couple of years, apply another coating.
CAUTION: Linseed oil can spontaneously combust (catch itself on fire). As it dries, it goes through some kind of phase change that releases energy creating heat. It's not likely to happen on wodden surfaces painted with linseed oil unless maybe if they're left in direct sunlight to dry. It can easily happen if you leave linseed oil-soaked rags or paper towels lying around. Even without added heat from the sun, linseed oil can heat itself up enough to ignite cloth and paper, so you can wash out cloth with soap and hot water or throw cloth and paper into the woodstove.
Section above the axle has been coated coated.
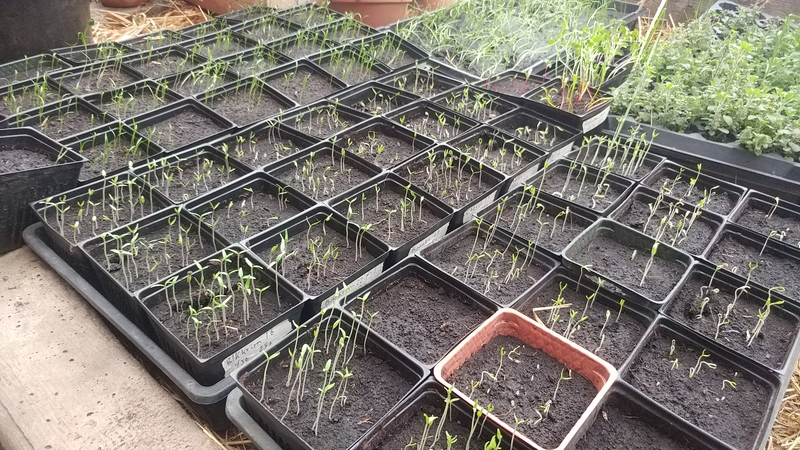
Germination tests.
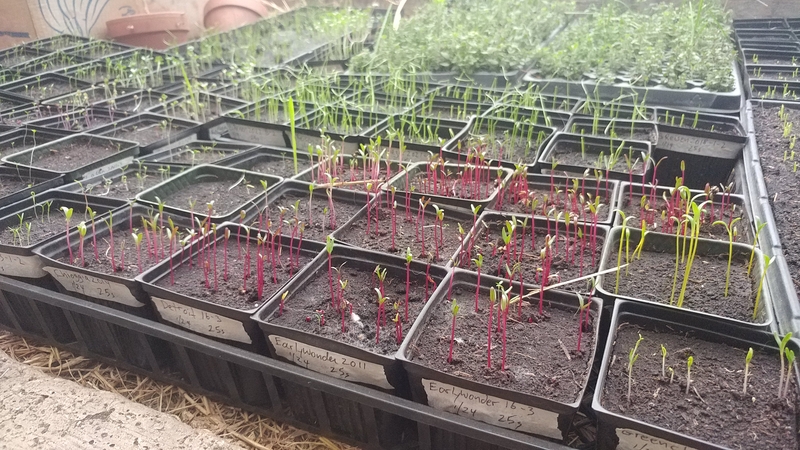
Beautiful beet germination tests.

The BZ Permaculture Farm Collective at the Seed Swap in January at the Kettle Falls Public Library.
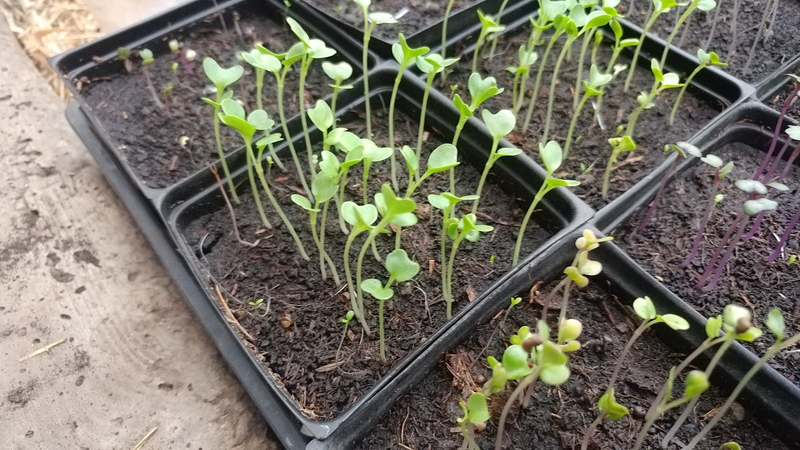
More germination tests.

We grow and sell onion sets (left) and onion seed (onion seed heads, right).
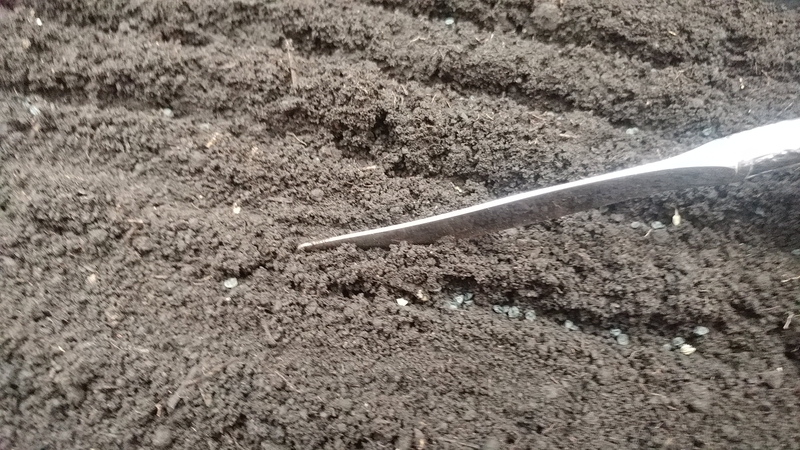
Covering the onion seeds using a butter knife. Keep the flat moist but not waterlogged. You can put the flats in a warm place indoors without much light until you see the little white onion sprouts, then put the flat somewhere indoors that gets good light. Feed once a week with compost tea and cold-process fish/kelp liquid diluted the recommended amount. You will have happy, sturdy, vigorous seedlings to plant outdoors mid-March to mid-April. Their roots are tough. They can take the gentle tearing it will take to separate each seedling for planting. Plant them 8" apart on all sides into soil fed well with compost. Watch them grow.
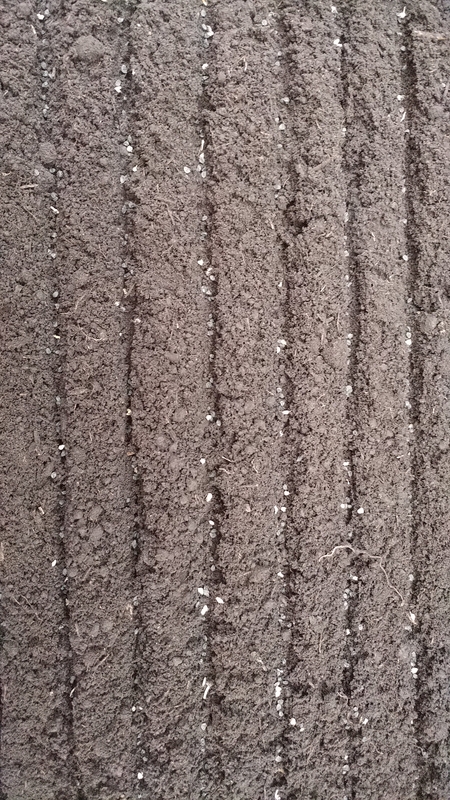
It's hard to see the onion seeds here in the furrows, but they are not too thickly spread. light specks are chaff.

These Southport Red onion seeds were grown out by Louise from onions grown by Chrys, who loves these little green seeders for most seeding into flats or counting seed for germination tests. This kind does not work for round, spherical seeds.
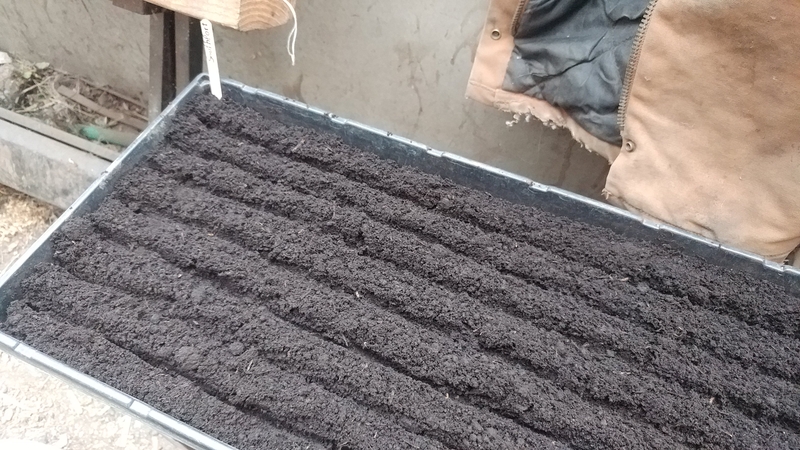
Onion seeds need to be started indoors early. We do it in January. For sowing onion seeds into flats, use a butter knife to make furrows about 3/8 of an inch deep about an inch apart across the flat. Ideal spacing for the onion seeds in the furrow is also 3/8 of an inch, but it's not possible to be that accurate. But that's the goal. You will have some bunched up. It's okay. Don't dump them in. Crowded is not good.
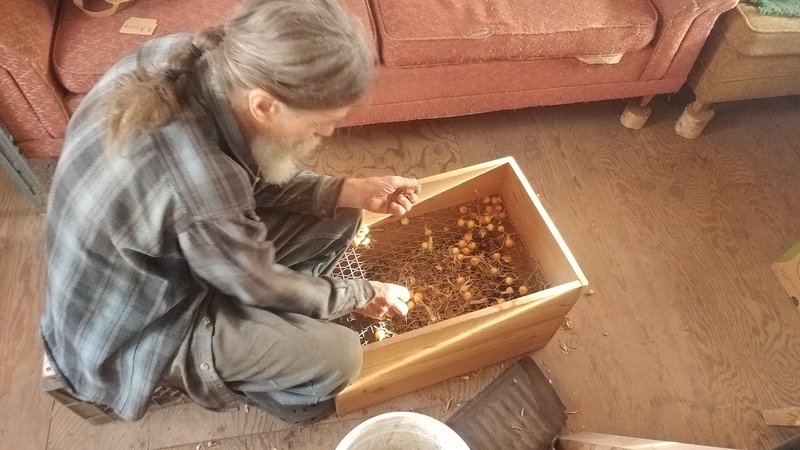
Here is BZ sorting onion sets. Sets can be too small (won't grow into a big onion) or too large (which have more tendency to bolt and put up a flower stalk rather than making a nice bulb onion)
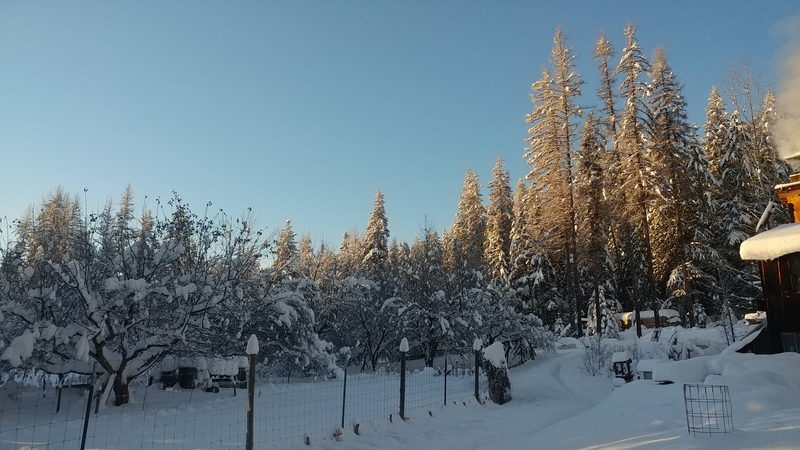
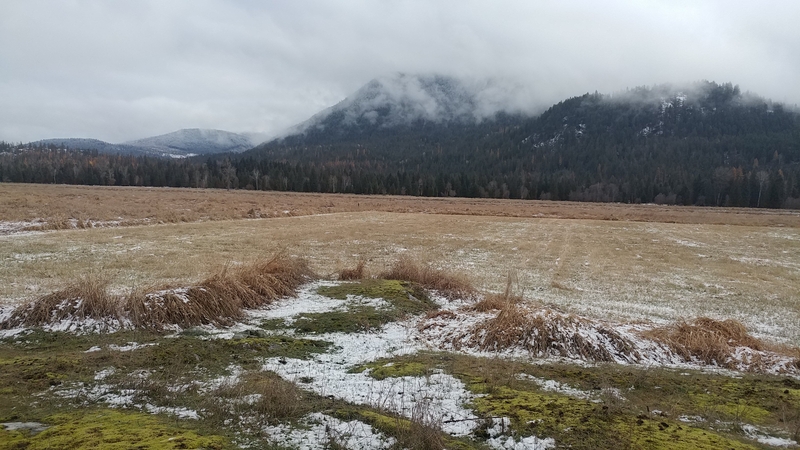
We had many snow storms this winter and almost as many spring thaws (the weather has been so weird). The orchard is on the left.
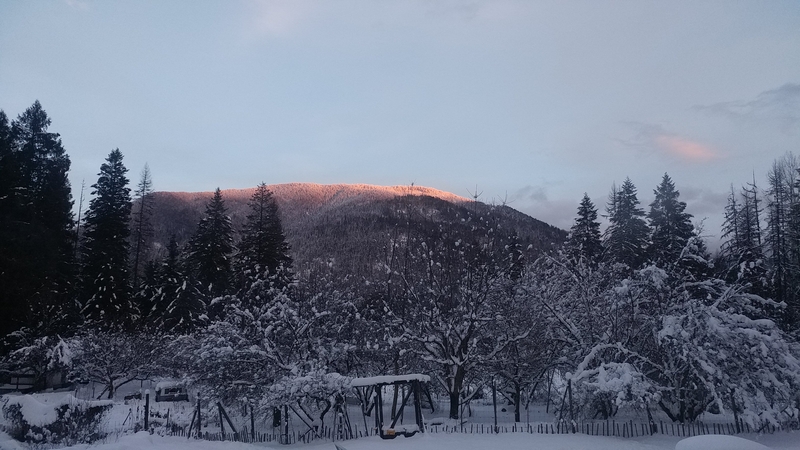
Here is Red Top Mountain doing her thing.

Peruvian Mayacoba dry beans germination test.
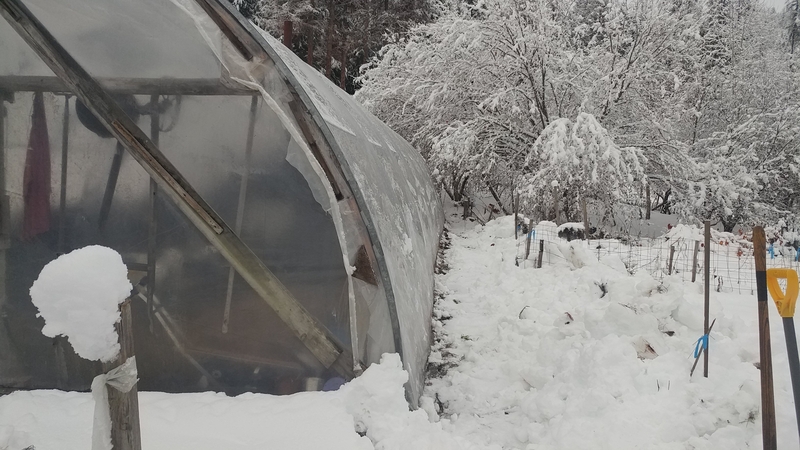
After digging the snow away from the sides of the hoophouse or, how to stay warm in winter.

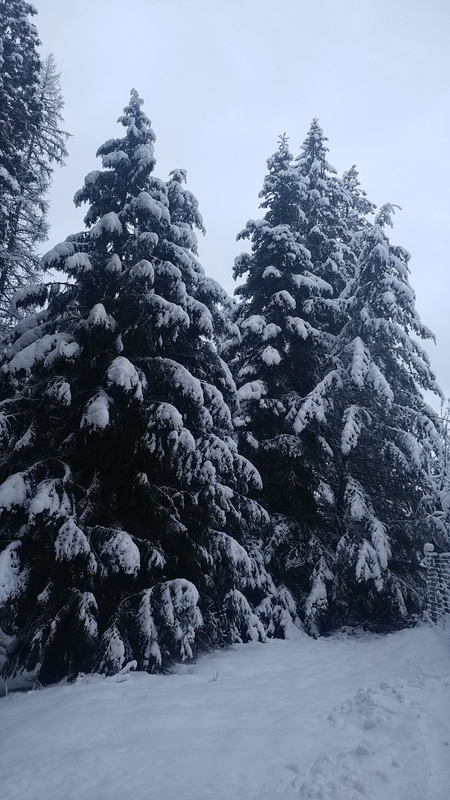
Pertty nice winter scene.
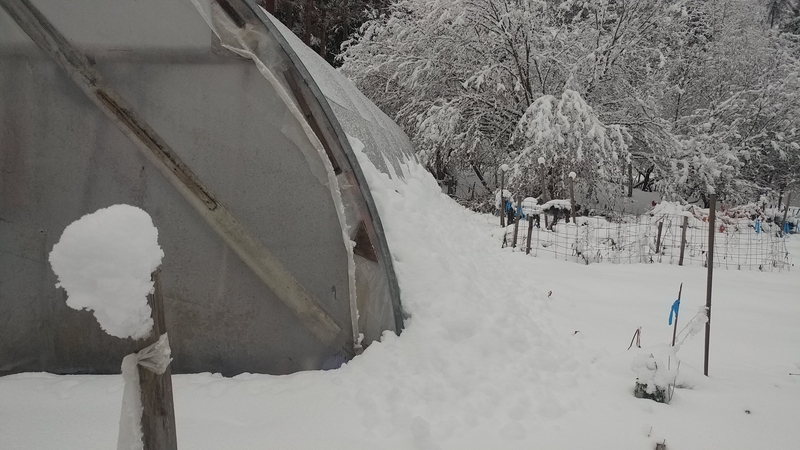
Before digging out the snow from the sides of the hoophouse. It can get heavy and damage the film or the frame. CAREFUL not to poke the film with the shovel. Last winter Chrys had to do this three times. This winter only once. BZ remembers having to dig it out five or six times in a winter. It would not be such an issue if the hoopy had vertical side walls.
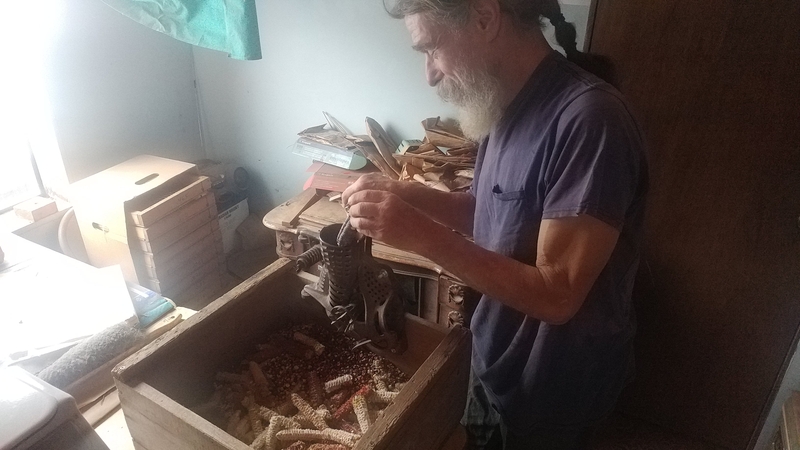
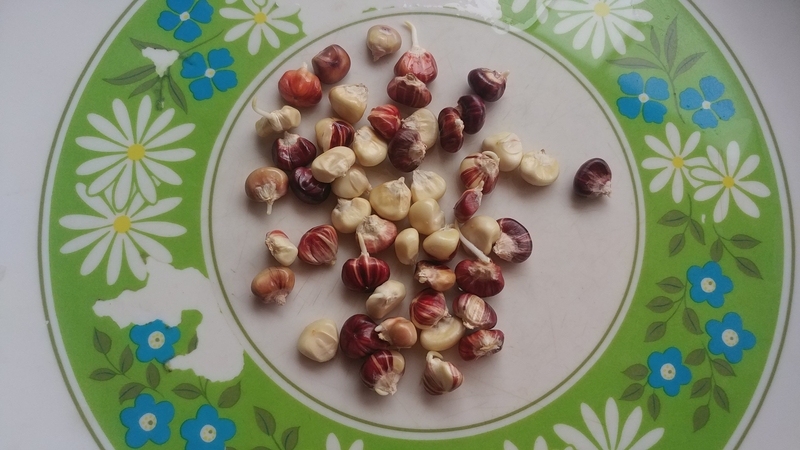
BZ using the corn sheller he modifed (so it can work on our cobs which are smaller than Midwestern field corn). This is our 2023 Painted Mountain corn, some for eating and some for seed.
Germination test of Starburst Parching Corn.

We use clean pint canning jars with screened lids for germination tests for beans, peas, corn, grains and some brassicas. We soak 50 or 100 seeds overnight then rinse and drain them every day for ten days, picking out the sprouted ones each day. With what you have left after ten days you calculate the germination rate (percentage). Moisture causing seeds to mold during the ten days using this method can be an issue. After rinsing and shaking out extra water (gently without smashing the seeds into each other), the jars should be set upside down in a drain rack for several minutes. We had good luck with some bean seeds that really wanted to mold fast by soaking a new batch of 50 seeds in vinegar for fifteen minutes, then rinsing so no more vinegar smell remains and sprouting them normally.
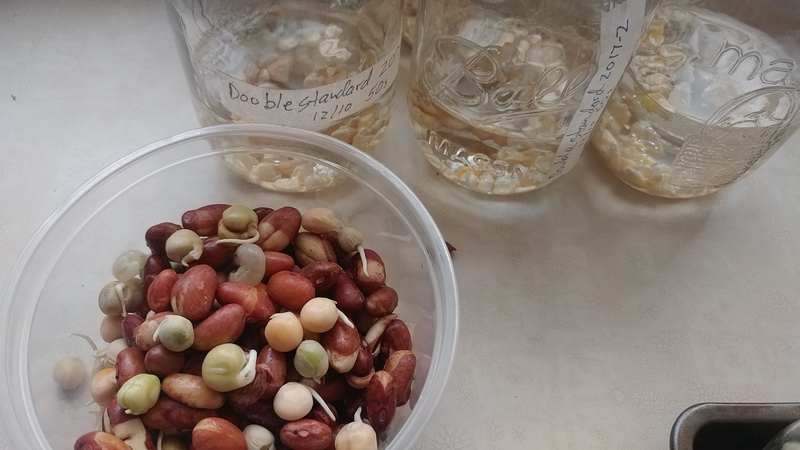
We pick out the sprouting seeds every day so we can calculate the germination rate. Then the ducks get a little treat.
Germination tests.
Cleaning lettuce seed.
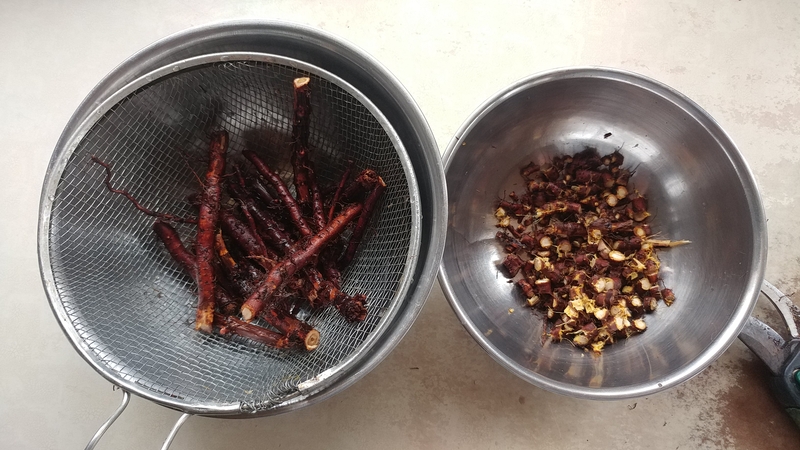
Chopping up Japanese Knotweed roots for a tincture. Knotweed leaf tea was mentioned in the new Japanese animated film The Boy and the Heron by Miyazaki. We'll give it a try next summer.
Several dump truck loads of mulch were havested off our field here.

Here are some Black Pubescent Peppers that ripened in the home greenhouse for seed. We sold some of these as houseplants at the farmers' market. They are jet black before they go red and have fuzzy leaves which is very unusual for a pepper. Chrys harvested some of these seeds in 2005 when I apprenticed for reknowned horticulturist and permaculturist Marshall Chrostowski on his microfarm in Carpenteria, CA. I was saddened to learn Marshall very recently passed away.
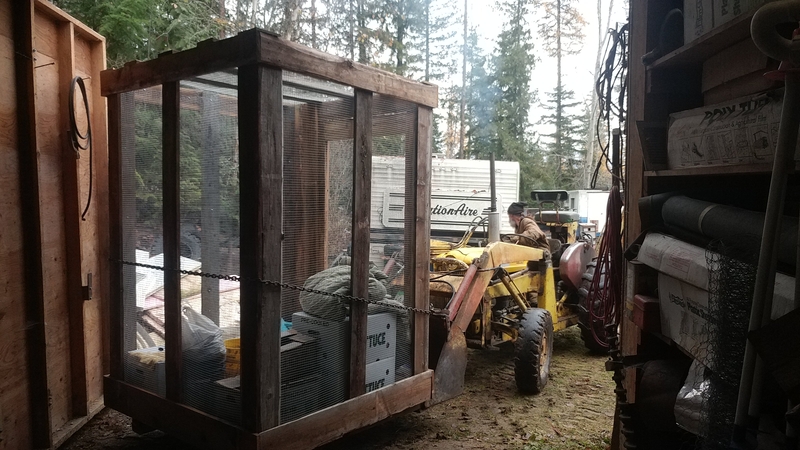

The shop.

These are a late variety pear that are picked green and ripen over some weeks. We got about 100 lbs. These ultimately became delicious pear sauce.
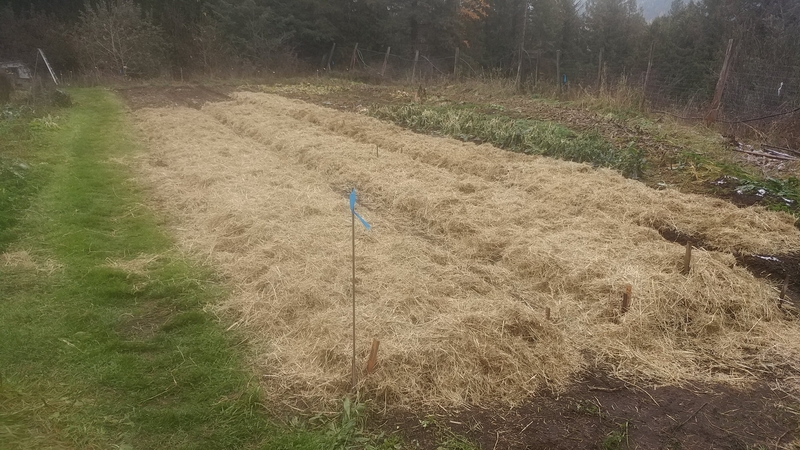
Finished. Garlic planted and mulched.
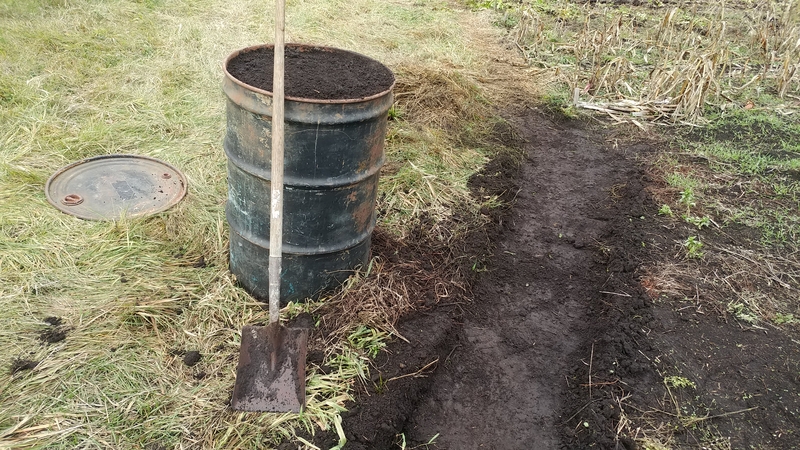
Here we are collecting our potting soil for the next season. We're harvesting it from an area that drains one of our fields. We usually harvest about four 55 gal. drums a year. Much of it goes for starting our own crops and a little goes out each year when we sell plant starts in the spring. This will later be screened and pasteurized to kill weed seeds in our wood-fired soil cooker (which is also the heat and hot water for the main house-- stacking functions) .
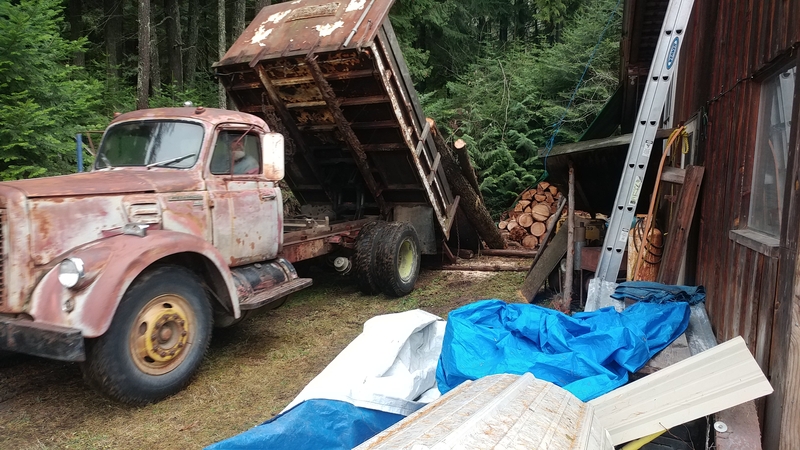
BZ delivering a load of firewood for the shop stove.
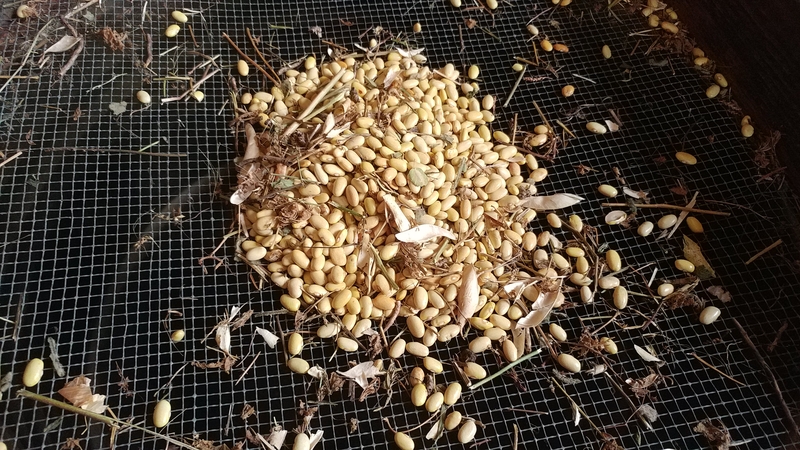
We got a small harvest of Peruvian Mayacoba beans this year. The final step in cleaning the beans will be using our vacuum cleaner seed cleaner.

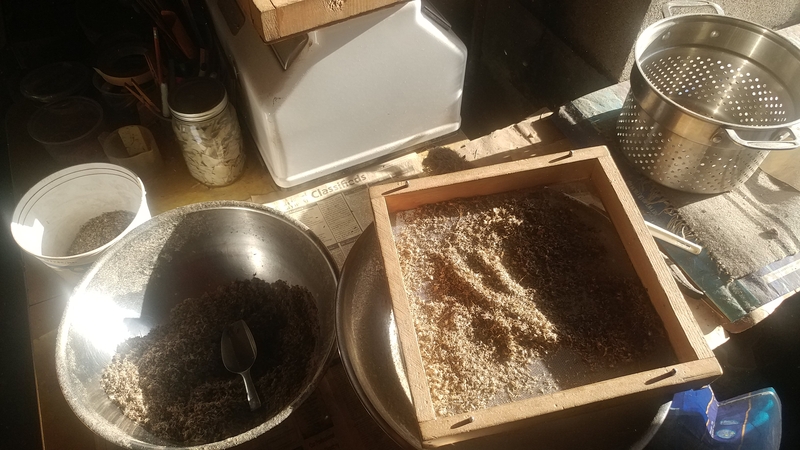
Threshing and screening Peruvian Mayacoba beans.
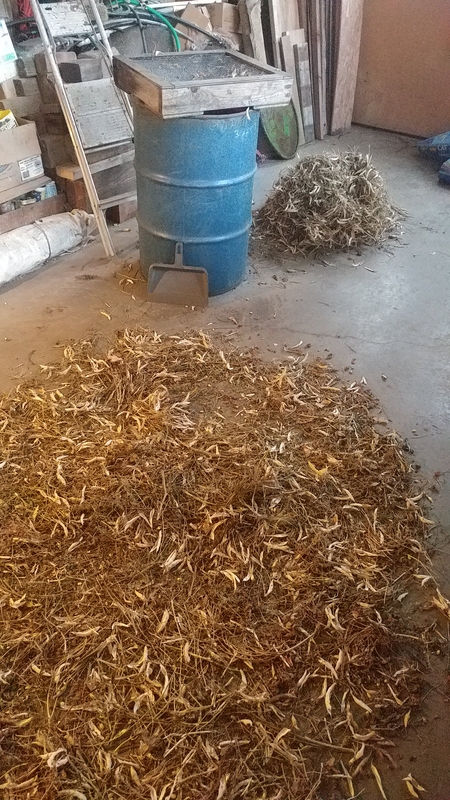
Threshing and screening Peruvian Mayacoba beans.

Gathering up firewood for the shop. These are all either windfall or dead-standing. We had some strong wind storms this year.


Planting garlic through the snow (again).